Introduction
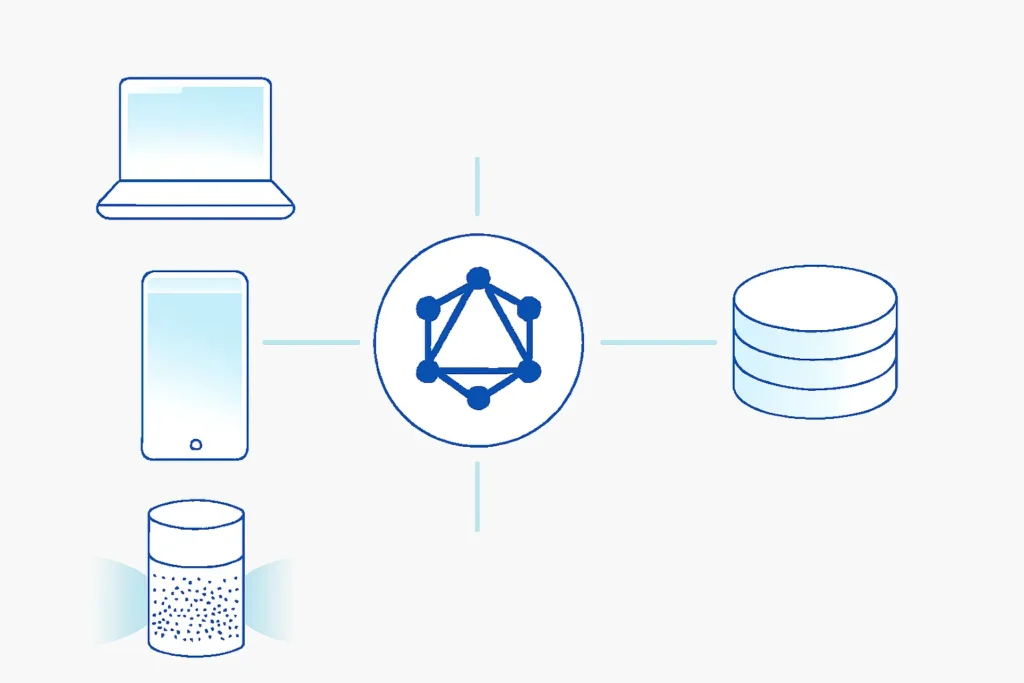
In modern web development, optimizing API performance and flexibility is essential. RESTful APIs have long been the industry standard for client server communication, but they often suffer from issues such as over fetching or under fetching data. This is where GraphQL comes in, providing developers with more control over the data they retrieve, making it a better alternative for many applications.
In this guide, I will walk you through the process of setting up a GraphQL server in Laravel, one of the most popular PHP frameworks. By the end of this post, you’ll understand how to integrate GraphQL into your Laravel project, enabling more efficient and flexible data retrieval for your application.
Problem:
Many developers face challenges when working with traditional REST APIs:
-
- Over fetching data: REST APIs often send more data than needed, which increases response time and bandwidth usage.
-
- Under fetching data: Sometimes, multiple API requests are required to fetch related resources, leading to additional network round trips.
-
- Tight coupling: REST APIs tend to require multiple endpoints for each resource, which makes it harder to evolve the API over time.
GraphQL addresses these challenges by allowing clients to request only the data they need, reducing the number of API calls and providing a more flexible, self documented API.
Approach
To implement GraphQL in Laravel, we need to follow a few key steps:
-
- Install Laravel: Begin by setting up a Laravel project (or using an existing one).
-
- Install GraphQL Package: We’ll integrate the rebing/graphql laravel package, which makes it easy to set up a GraphQL server in Laravel.
-
- Define GraphQL Types and Queries: Set up types and queries to represent the structure of your data.
-
- Create Resolvers: Implement resolvers to fetch data based on GraphQL queries.
-
- Test the Server: Test the GraphQL server to ensure it returns the expected data.
Solution
Step 1: Install Laravel
f you’re starting from scratch, create a new Laravel project:
composer create-project --prefer-dist laravel/laravel graphql-server
cd graphql-serverIf you already have a Laravel project, you can skip this step.
Step 2: Install the GraphQL Package
We will use the rebing/graphql laravel package for integrating GraphQL. To install it, run:
composer require rebing/graphql-laravelNext, publish the configuration file for the package:
php artisan vendor:publish --provider="Rebing\GraphQL\GraphQLServiceProvider" --tag="config"This will generate a config/graphql.php file where you can configure your GraphQL schema.
Step 3: Define GraphQL Types and Queries
In GraphQL, a Type defines the shape of the data that can be queried. Let’s define a simple PostType that we will query.
Here’s an example of how you can define a PostType:
namespace App\GraphQL\Type;

use Rebing\GraphQL\Support\Type;
use Rebing\GraphQL\Support\Facades\GraphQL;
use GraphQL\Type\Definition\Type;

class PostType extends Type
{
    protected $attributes = [
        'name' => 'Post',
        'description' => 'A post in the system',
    ];

    public function fields(): array
    {
        return [
            'id' => [
                'type' => Type::int(),
            ],
            'title' => [
                'type' => Type::string(),
            ],
            'content' => [
                'type' => Type::string(),
            ],
        ];
    }
}Next, we’ll define a query to fetch posts:
namespace App\GraphQL\Query;

use App\Models\Post;
use Rebing\GraphQL\Support\Query;
use GraphQL\Type\Definition\Type;

class PostsQuery extends Query
{
    protected $attributes = [
        'name' => 'posts',
    ];

    public function type(): Type
    {
        return Type::listOf(GraphQL::type('Post'));
    }

    public function resolve($root, $args)
    {
        return Post::all(); // Fetch all posts from the database
    }
}Step 4: Create Mutations
GraphQL is not just for queries; you can also use mutations to create, update, or delete data. Below is an example of how to set up a mutation for creating a post.
namespace App\GraphQL\Mutation;

use App\Models\Post;
use GraphQL\Type\Definition\Type;
use Rebing\GraphQL\Support\Mutation;

class CreatePostMutation extends Mutation
{
    protected $attributes = [
        'name' => 'createPost',
    ];

    public function type(): Type
    {
        return GraphQL::type('Post'); // Return Post type after creation
    }

    public function args(): array
    {
        return [
            'input' => [
                'name' => 'input',
                'type' => Type::nonNull(GraphQL::type('PostInput')),
            ],
        ];
    }

    public function resolve($root, $args)
    {
        $post = new Post();
        $post->title = $args['input']['title'];
        $post->content = $args['input']['content'];
        $post->save();

        return $post; // Return the newly created post
    }
}Step 5: Test the GraphQL Server
Once you have set up the types, queries, and mutations, you can test your server by visiting the /graphql endpoint (e.g., http://localhost/graphql) in your browser or using tools like GraphiQL or Postman to make requests.
Real World GraphQL Example
Query Example
Let’s say you want to query a list of posts with the id, title, and content. You can use the following GraphQL query:
query {
  posts {
    id
    title
    content
  }
}This will return only the data requested, unlike REST APIs, where you might get more or less than needed.
Mutation Example
You can also create a new post using a GraphQL mutation:
mutation {
  createPost(input: {title: "New Post", content: "This is the content of the new post"}) {
    post {
      id
      title
      content
    }
  }
}This mutation allows you to create a new post with the specified title and content and returns the newly created post.
Result/Benefit
By implementing a GraphQL server with Laravel, you gain several key benefits:
-
- Efficient Data Fetching: Clients can request only the data they need, reducing unnecessary server load and bandwidth usage.
-
- Flexible Queries: Front end developers can easily adjust queries to retrieve the exact data required for each page, without waiting for new endpoints to be added.
-
- Better Client Server Decoupling: GraphQL allows more control to the client while minimizing the need for constant changes on the server side.
-
- Improved Developer Experience: With built in introspection, GraphQL APIs are self documented, making it easier for developers to explore available data.
Learnings
While building a GraphQL server with Laravel offers many advantages, it’s important to keep in mind the following:
-
- Complexity: While GraphQL reduces the number of requests, it can add complexity to server side logic, especially when dealing with relationships and nested queries.
-
- Security: Make sure to implement proper validation and authentication to protect sensitive data when exposing a GraphQL API.
Call to Action (CTA)
If you’re looking to enhance your web application’s data fetching capabilities, GraphQL with Laravel can be a game changer. Ready to implement a GraphQL server in your Laravel project? Reach out to our team to get started or explore our other guides on optimizing your APIs and backend systems.
